Setting up a project#
In Union, your work is organized in a hierarchy with the following structure:
Organization: Your company’s Union instance, accessible at a specific URL like
union.my-company.com.Domains Within an organization there are (typically) three domains,
development,staging, andproduction, used to organize your code during the development process. You can configure a custom set of domains to suit your needs during onboarding.Projects: Orthogonal to domains, projects are used to organize your code into logical groups. You can create as many projects as you need.
A given workflow will reside in a specific project. For example, let’s say my_workflow is a workflow in my_project.
When you start work on my_workflow you would typically register it in the project-domain my_project/development.
As you work on successive iterations of the workflow you might promote my_workflow to my_project/staging and eventually my_project/production.
Promotion is done simply by re-registering the workflow to the new project-domain.
Terminology#
In everyday use, the term “project” is often used to refer to not just the Union entity that holds a set of workflows, but also to the local directory in which you are developing those workflows, and to the GitHub (or other SCM) repository that you are using to store the same workflow code.
To avoid confusion, in this guide we will stick to the following naming conventions:
Union project: The entity in your Union instance that holds a set of workflows, as described above. Often referred to simply as a project.
Workflow directory: The local directory in which you are developing workflows. This directory does not necessarily correspond one-to-one with a Union project. Often you will have multiple workflow directories that are all registered to a single Union project.
Workflow repository: The GitHub (or other SCM) repository that you are using to store and manage your workflow code. This repository does not necessarily correspond one-to-one with either workflow directory or a Union project.
Create a Union project#
You can create a new project in the Union UI:
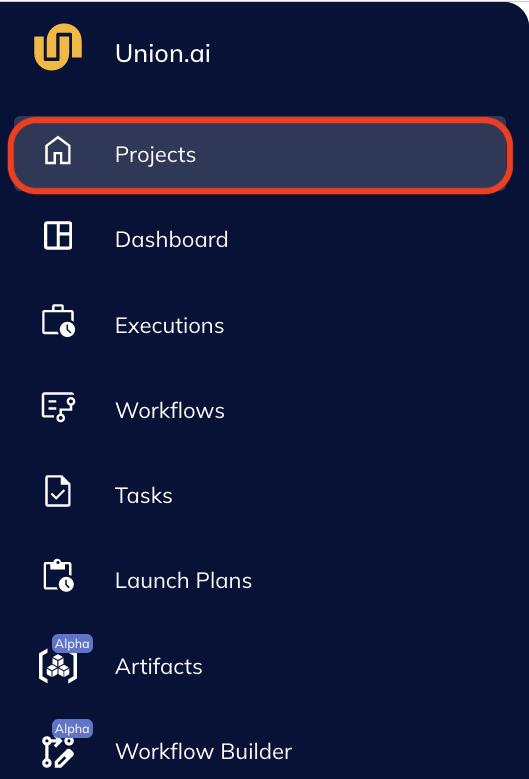
Navigate to the Projects page.
Click New Project.

In the project creation modal, enter a Project Name, Project ID, and optional Description.
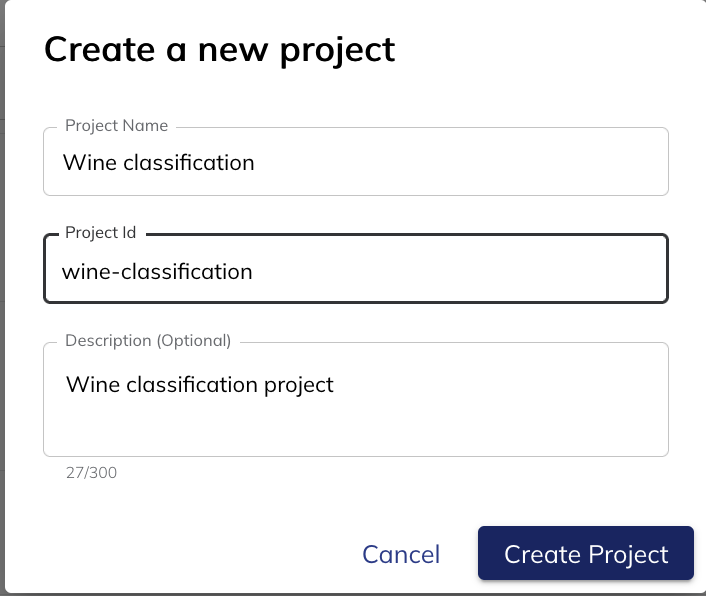 For the purposes of this exercise, name the project Basic example, and give it the ID
 basic-example.Click Create Project.
You now have a project on Union into which you can register your workflows. The next step is to set up a local workflow directory.
Creating a local workflow directory using union init#
Earlier, in the First workflow section of the guide, we started with a pre-existing example project, cloned from git.
In this section we’ll start from scratch and create a new project using the union CLI tool.
We will use the union init command to create a new workflow directory on your local machine pre-populated with a basic project structure defined by the basic-union-template found in the repository flyteorg/flytekit-python-template.
To create the workflow directory, run the following command:
$ union init --template basic-union-template basic-example
Directory structure#
If you cd into the basic-example directory you’ll see the following file structure:
$ cd basic-example

$ tree
.
├── LICENSE
├── README.md
├── requirements.txt
└── workflows
    ├── __init__.py
    └── example.py
You can create your own conventions and file structure for your Union projects.
The union init command just provides a good starting point.
However, the separate workflows subdirectory and the contained __init__.py file are significant.
We will discuss them when we cover the registration process.