First project#
In this section we will set up a new project.
This involves creating a local project directory holding your project code
and a corresponding Union.ai project to which you will deploy that code using the union CLI.
Create a new Union.ai project#
Create a new project in the Union.ai UI by clicking on the project breadcrumb at the top left and selecting All projects:

This will take you to the Projects list:

Click on the New Project button and fill in the details for your new project. For this example, let’s create a project called My project:
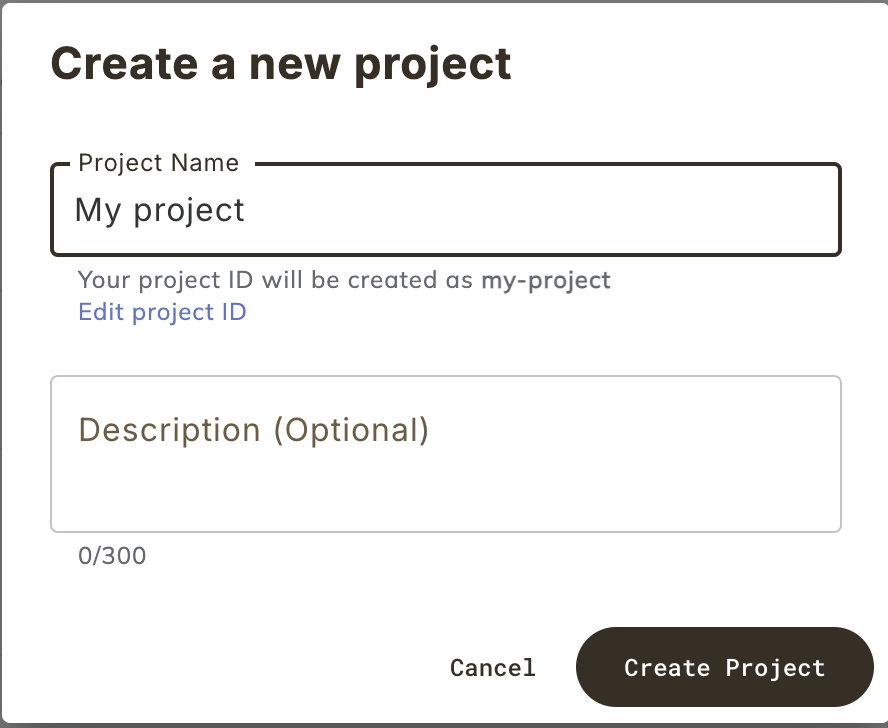
You now have a project on Union.ai named “My Project” (and with project ID my-project) into which you can register your workflows.
Default project
Union.ai provides a default project (called default) where all your workflows will be registered unless you specify otherwise. In this section, however, we will be using the project we just created, not the default.
Initialize a local project#
We will use the union init command to initialize a new local project:
$ union init --template union-simple my-project
Here we use the union-simple template to create a new local project directory called my-project.
The resulting directory will look like this:
.
├── LICENSE
├── README.md
├── hello_world.py
├── pyproject.toml
└── uv.lock
Local project directory name same as Union.ai project ID
It is good practice to name your local project directory the same as your Union.ai project ID, as we have done here.
Next, let’s look at the contents of the local project directory.