Running your workflow#
Python virtual environment#
The first step is to ensure that your uv.lock file is properly generated from your pyproject.toml file and that your local Python virtual environment is properly set up.
Using uv, you can install the dependencies with the command:
$ uv sync
You can then activate the virtual environment with:
source .venv/bin/activate
activate vs uv run
When running the union CLI within your local project you must run it in the virtual environment associated with that project.
This differs from our earlier usage of the tool when we installed union globally in order to set up its configuration.
To run union within your project’s virtual environment using uv, you can prefix it use the uv run command. For example:
uv run union ...
Alternatively, you can activate the virtual environment with source .venv/bin/activate and then run the union command directly.
In our examples we assume that you are doing the latter.
Run the code locally#
Because tasks and workflows are defined as regular Python functions, they can be executed in your local Python environment.
You can run the workflow locally with the command union run <FILE> <WORKFLOW>:
$ union run hello_world.py hello_world_wf
You should see output like this:
Running Execution on local.
Hello, world!
You can also pass in parameters to the workflow (assuming they declared in the workflow function):
$ union run hello_world.py hello_world_wf --name="everybody"
You should see output like this:
Running Execution on local.
Hello, everybody!
Running remotely on Union.ai#
Local execution is useful for testing and debugging your workflows. But to run them at scale, you will need to deploy them (or as we say, “register” them) on to your Union.ai instance.
When task and workflow code is registered on Union.ai:
The
@union.taskfunction is loaded into a container defined by theImageSpecobject specified in thecontainer_imageparameter of the decorator.The
@union.workflowfunction is compiled into a directed acyclic graph that controls the running of the tasks invoked within it.
To run the workflow on Union.ai, add the --remote option:
$ union run --remote --project my-project --domain development hello_world.py hello_world_wf
The output displays a URL that links to the workflow execution in the UI:
👍 Build submitted!
⏳ Waiting for build to finish at: https://serverless.union.ai/org/...
✅ Build completed in 0:01:57!

[✔] Go to https://serverless.union.ai/org/... to see execution in the UI.
Click the link to see the execution in the UI.
Register the workflow without running#
Above we used the union run --remote to register and immediately run a workflow on Union.ai.
This is useful for quick testing, but for more complex workflows you may want to register the workflow first and then run it from the Union.ai interface.
To do this, you can use the union register command to register the workflow code with Union.ai.
The form of the command is:
$ union register [<options>] <path-to-source-directory>
in our case, from within the getting-started directory, you would do:
$ union register --project my-project --domain development .
This registers all code in the current directory to Union.ai but does not immediately run anything. You should see the following output (or similar) in your terminal:
Running pyflyte register from /Users/my-user/scratch/my-project with images ImageConfig(default_image=Image(name='default', fqn='cr.flyte.org/flyteorg/flytekit', tag='py3.12-1.14.6', digest=None), images=[Image(name='default', fqn='cr.flyte.org/flyteorg/flytekit', tag='py3.12-1.14.6', digest=None)]) and image destination folder /root on 1 package(s) ('/Users/my-user/scratch/my-project',)
Registering against demo.hosted.unionai.cloud
Detected Root /Users/my-user/my-project, using this to create deployable package...
Loading packages ['my-project'] under source root /Users/my-user/my-project
No output path provided, using a temporary directory at /var/folders/vn/72xlcb5d5jbbb3kk_q71sqww0000gn/T/tmphdu9wf6_ instead
Computed version is sSFSdBXwUmM98sYv930bSQ
Image say-hello-image:lIpeqcBrlB8DlBq0NEMR3g found. Skip building.
Serializing and registering 3 flyte entities
[✔] Task: my-project.hello_world.say_hello
[✔] Workflow: my-project.hello_world.hello_world_wf
[✔] Launch Plan: my-project.hello_world.hello_world_wf
Successfully registered 3 entities
Run the workflow from the Union.ai interface#
To run the workflow, you need to go to the Union.ai interface:
Navigate to the Union.ai dashboard.
In the left sidebar, click Workflows.
Search for your workflow, then select the workflow from the search results.
On the workflow page, click Launch Workflow.
In the “Create New Execution” dialog, you can change the workflow version, launch plan, and inputs (if present). Click “Advanced options” to change the security context, labels, annotations, max parallelism, override the interruptible flag, and overwrite cached inputs.
To execute the workflow, click Launch. You should see the workflow status change to “Running”, then “Succeeded” as the execution progresses.
To view the workflow execution graph, click the Graph tab above the running workflow.
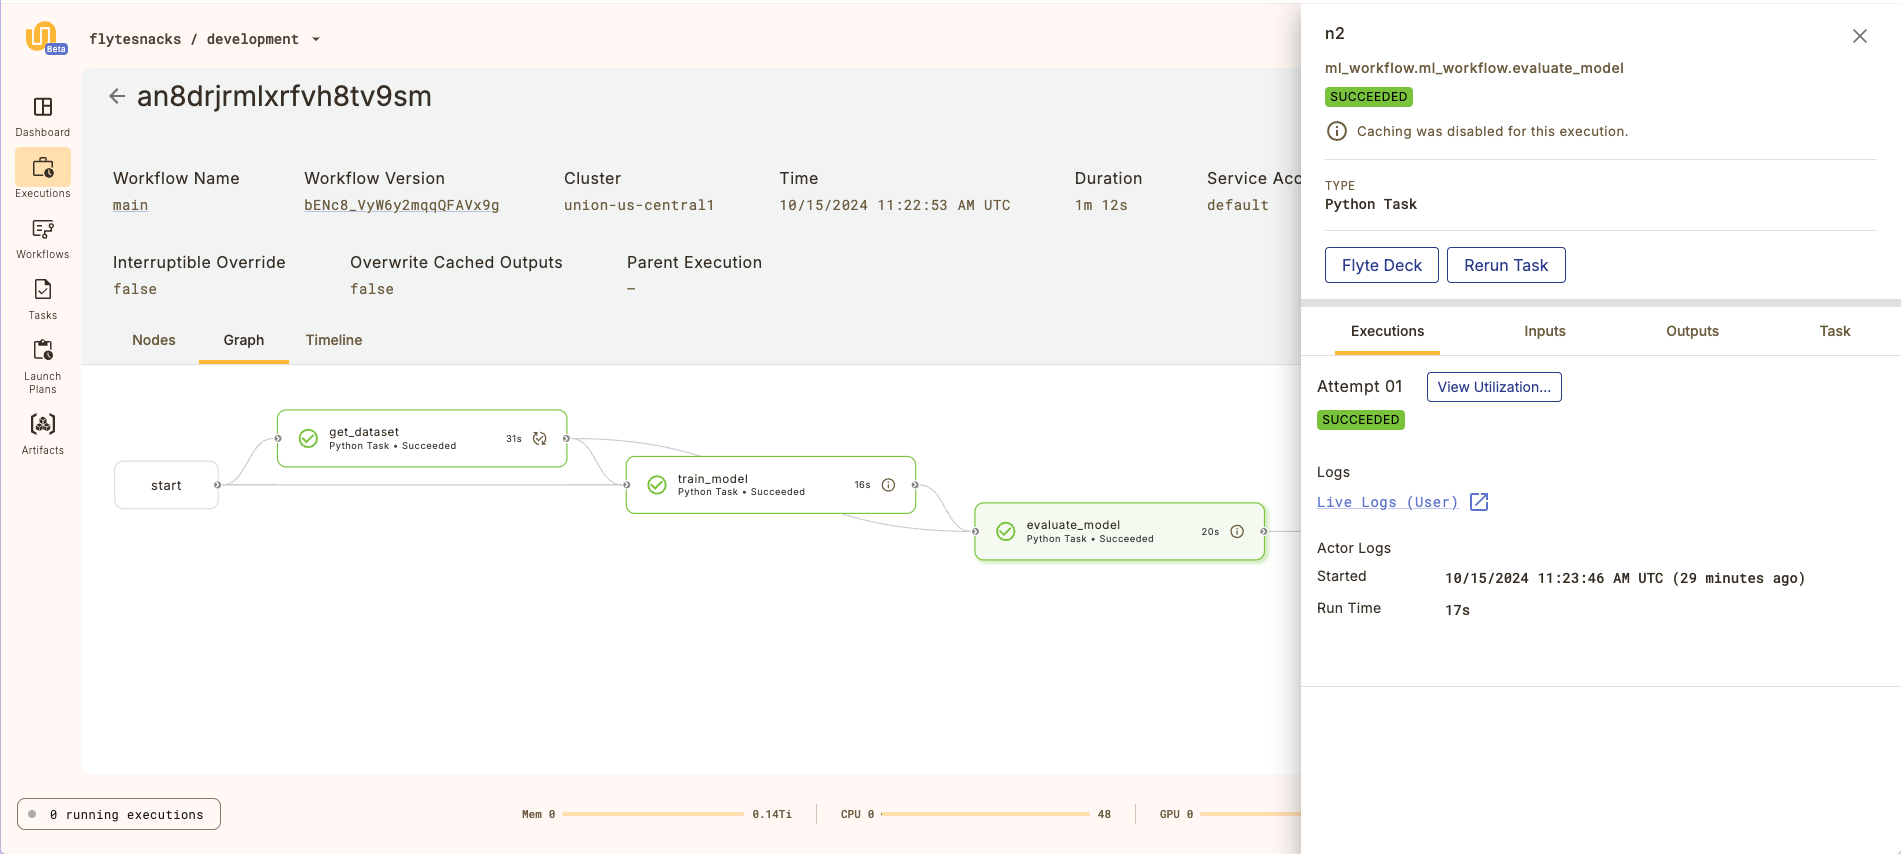
View the workflow execution on Union.ai#
When you view the workflow execution graph, you will see the following:
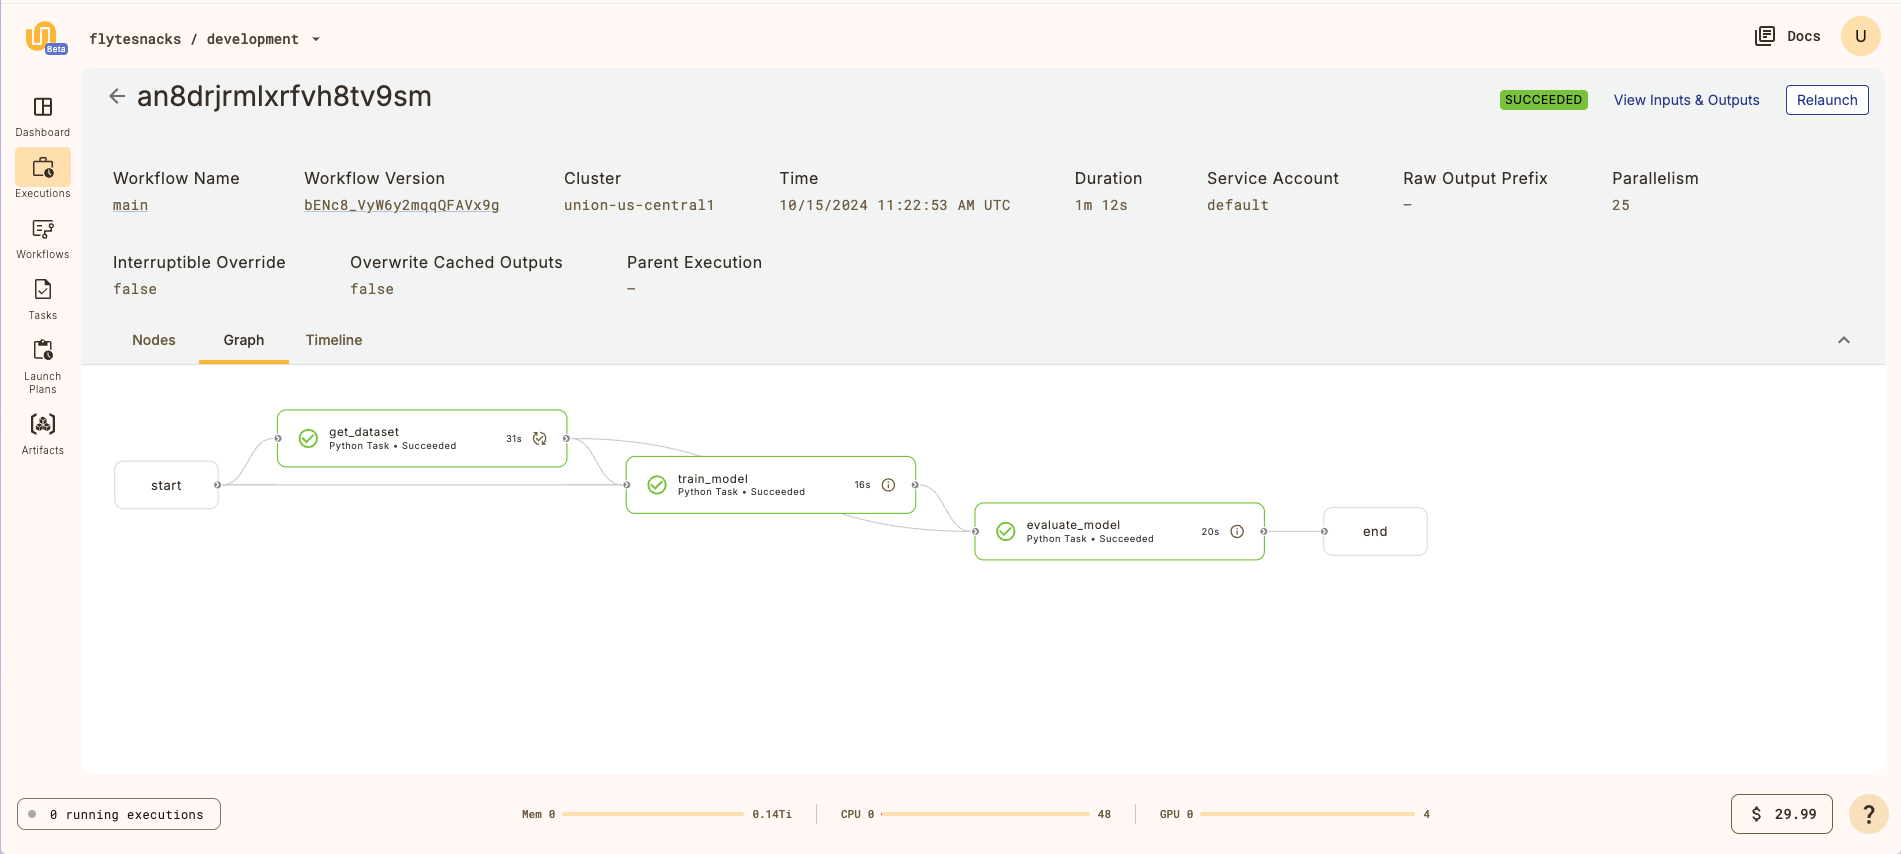
Above the graph, there is metadata that describes the workflow execution, such as the
duration and the workflow version. Next, click on the evaluate_model node to open up a
sidebar that contains additional information about the task: